Set in the heart of the beautiful Hunter Valley, Easts Leisure & Golf, incorporating Maitland Golf Club, provides the perfect setting for golfers of all levels.
The course at Easts is Australia's fourteenth oldest Golf Club, having been established on 12 June 1899, with golf still played on the original site.
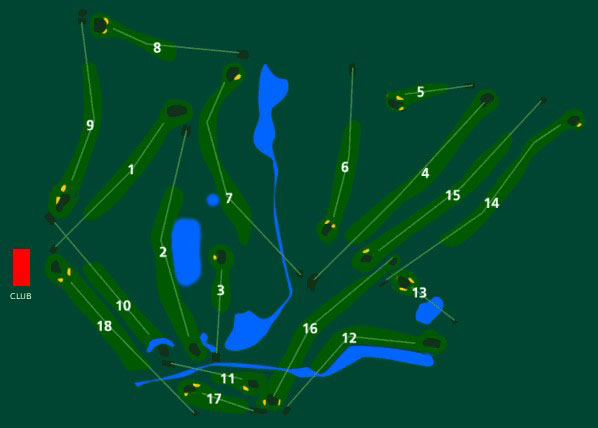
The course has developed over more than one hundred years into a mix of magnificent tree lined holes, eight of which feature water hazards that flow from a One Mile Creek and strategically placed dams.
Every hole at Easts has a rich history of deeds past and these feats seem to get better every year. Following is a brief history of the course's holes and a guide of how to best navigate them.
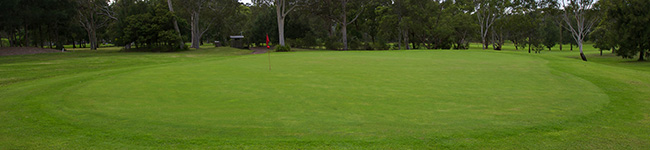
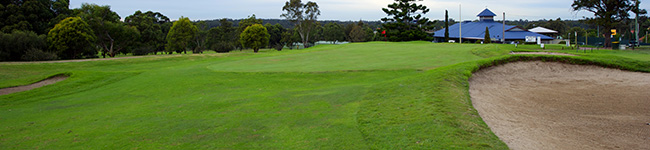
Hole 1: The Hollywood (PAR 4) - 357m
Known as Hollywood after a former President of Maitland, Dr Hollywood, this straight away par 4 provides a forgiving tee shot best shaped left to right to a large sloping landing zone. This leaves a mid to short iron approach shot to an elevated oval shaped green with enough hidden borrow to ensure a regulation two putt is not achieved without caution.
Hole 2: Dunk (PAR 4-5) - 418m
This hole is named after the legendary Australian golfer Billy Dunk, who on his way to winning the prestigious 1960 NSW PGA Championship, made an albatross on the hole when it was a par 5. Since then, the downhill dog leg left has been transformed into the most challenging hole on the course, now as a par 4. An accurate and well struck drive is required to avoid water left and trees right, leaving a long approach shot to a small green. The green is guarded by both water and dense paper bark trees, further adding to this hole's tough reputation.
The water storage dam located left of the fairway holds 12 million litres of water used to irrigate the Course. It was completed in 2006 with the assistance of a Government Water Grant.
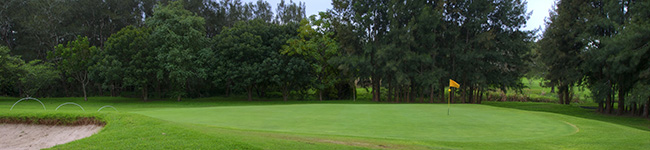
Hole 3: The Weather Station (PAR 3) - 180m
The longest Par 3 Hole on the Course is named after the Weather Station that sits behind the green and forms an essential part of the Clubs irrigation system. The state-of-the-art system was installed in 2019 and at the time was the largest ever project undertaken on the Course.
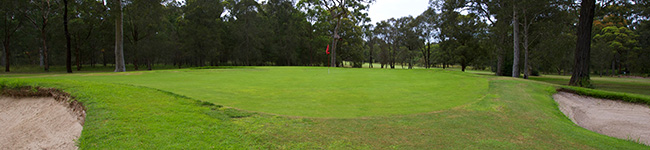
Hole 4: The Oval (PAR 5) - 464m
The Oval is an undulating par 5 with a demanding green nestled into a hill that has out of bounds lurking only metres behind. A tee shot shaped to the right side of the fairway opens up an opportunity of hitting the green in two for longer players. If not in reach, a well position lay up to the left side of the fairway gives a short iron approach to a green that is best to have an uphill putt on.
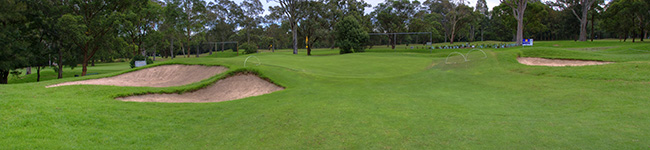
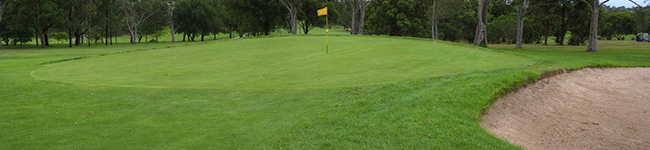
Hole 5: Tubman’s Avenue (PAR 3) - 143m
Called Tubman's Avenue, this mid length par 3 features an out of bounds fence along the right hand side to a kidney shaped green positioned diagonally to the golfer on the tee. Narrow at the front and widening to the back, the green is well guarded by three bunkers. Club selection is critical to ensure the ball lands safely on the green so as not to leave what can be a very demanding chip shot.
Hole 6: Bakers Fade (PAR 4) - 304m
Named in honour of 7 time Club Champion, Eisenhower Cup representative and former Australian Amateur Champion, Barrie Baker. This short par 4 requires a left-to-right 'fade' to leave a short iron to the green.
Hole 7: Jim's Tree (PAR 5) - 465m
Named in honour of Jim Palmer who famously hit the small bottle-brush tree situated in the middle of the fairway on a consistent basis. This tree will collect a low tee shot prior to opening up to a tight dog-leg fairway and demanding green.

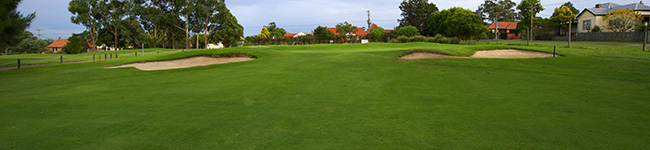
Hole 8: Postinatus (PAR 4) - 308m
This short but demanding par 4 is known as Postinatus. The hole is named after a champion race horse that won the 1913 Melbourne Cup and was trained on a track that encircled the golf course up until 1988. An exacting shot from the tee best shaped left to right will set up a mid to short iron to attack the green, which is protected by sweeping bunkers on the left and right side.
Hole 9: The Arbour (PAR 4) - 348m
The original entry point to the Golf Course was represented by an Arbour, with the remnants of this structure still visible on the right-hand side of this downhill, slight dogleg Par 4.
Hole 10: The Billabong (PAR 4) - 326m
The 10th is known as The Billabong in honour of the penalty area that protects the green. This short but demanding straight away par 4 features a water hazard in front that guards the green and will consume any shot not struck well. A mid to short iron approach from a downhill lie is required to hit this green. If in doubt, a well-positioned layup can be a wise option.

Hole 11: Palmers Crossing (PAR 3) - 169m
This hole and the bridge crossing Two Mile Creek are named in honour of Life Member, Joan Palmer, the Clubs longest serving member. Joans storied history with the Club began in 1947 and she celebrated her 100th birthday in 2023.
Hole 12: The Dog Leg (PAR 4) - 335m
A risk-reward Par 4 that has a sharp right dog leg. For those wanting to shortcut the dogleg, beware of the creek that runs all along the right hand side of the fairway and is Out-of-Bounds.

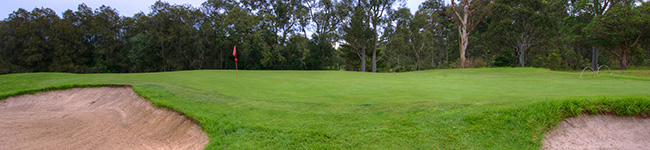
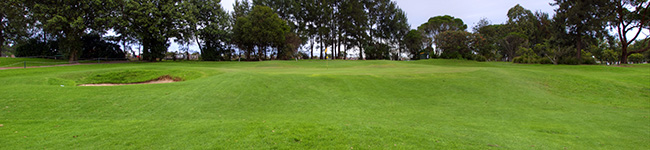
Hole 13: The Quarry (PAR 3) - 121m
The old gravel quarry that divides the tee and the green makes this par 3 one of Maitland's most memorable holes. The Quarry requires an exacting tee shot across the abyss to this raised green encircled with sand and grass bunkers. The bunker to the left of the green in particular can leave all but the most skilled golfer a little frustrated. A well struck mid to short iron may avoid the dangers that this hole offers, but will still leave a demanding putt on this small but undulating green.
Hole 14: The Bell Tree (PAR 5) - 464m
Named in honour of the tree and affixed Bell at the midway point of the fairway, used to inform players on the tee that they are allowed to proceed. This Par 5 is also split by the 'Pipeline' which while now buried between the fairways, golfers once had to contend with the above ground pipe that deflected many a golfers shot.
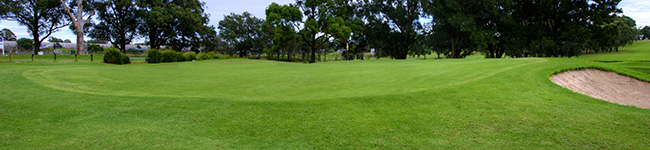
Hole 15: RAP (PAR 5) - 432m
Although now gone, this short par 5 still bears the name RAP, short for Regimental Aid Post. This structure was a feature on this hole for many years and for a long time housed the Club's halfway house just to the right of the tee. This hole gives players a chance to redeem their round with a drive placed just to the left of the fairway bunkers, giving them a possibility to get close and perhaps on in two. A smaller raised green still provides some defence to the hole, especially if approached from the wrong angle. A well placed pitch or putt can provide a much needed birdie late in the round.
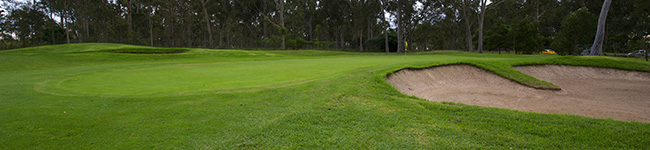
Hole 16: Darcy (PAR 4) - 367m
This long downhill dog leg features lines of casuarinas down both the rough lines and frames this great looking hole beautifully. The hole, known as Darcy, after Australian boxing legend Les Darcy, who was born in Maitland in 1895, requires a solid tee shot best shaped right to left. This leaves a mid to short iron second shot played over One Mile Creek to a small elevated green guarded by two challenging bunkers.
Hole 17: Two Mile Creek (PAR 3) - 146m
Two Mile Creek passes behind and the to the right of the green on this mid length Par 3. The creek will catch an over clubbed or errant tee shot and is also a feature on the 11th, 12th, 16th and 18th Holes.
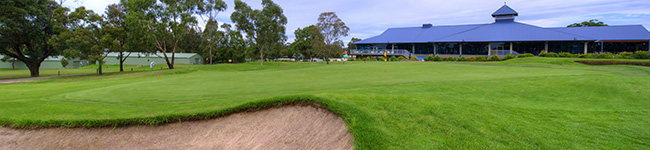
Hole 18: Fry’s Forest (PAR 4) - 366m
Known as Fry’s Forest this challenging par 4 takes you back up the hill to a green framed by the facilities magnificent Clubhouse. This hole offers an open landing area with a drive best shaped left to right, once you are over Two Mile Creek that cuts across the fairway that is. This leaves a long to mid iron to a green protected by two bunkers that will catch any errant shot. There are still challenges once on this large green as a fierce slope from back to front can make the last putts of the round even more interesting, particularly if the result of the game is in the balance.
Hole 19: Not the Bar (PAR 3) - 88m
No It’s not the Club’s famous Hargy Bar, and yes we can count at Maitland. We have a 19th that is brought into play when the Club is developing another hole on the course proper. Found to the left of the 7th tee at only 88 metres long, the 19th still demands some respect as the raised sloping green taunts golfers thinking of an easy conquest.